Changing the Data Type of a Destination Table Column
On This Page
Hevo automatically updates the data type of a Destination field to a compatible data type if the Destination field has no constraints and supports data type promotion. Post-Pipeline creation, you can also manually update the data type of a Destination field to one with a broader definition. For example, you can change an int data type to a float or a varchar data type, but you cannot change a varchar data type to any other data type. Refer to the Schema Mapper Compatibility Table for more information.
The data type of a Destination column can be manually updated in one of the following ways:
Recreating the Destination Table
In this method, to recreate the Destination table, do the following:
Drop the Existing Destination Table
Perform the following steps to drop the existing Destination table:
-
Click PIPELINES in the Navigation Bar, and then click the Pipeline for which you want to update the data type mapping.

-
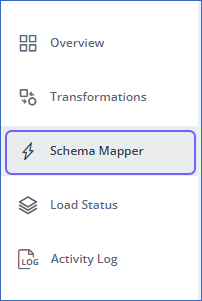
In the Tools Bar, click Schema Mapper to access the Schema Mapper Overview page.
-
On the Schema Mapper Overview page, click the Event Type for which you want to update the mapping.

-
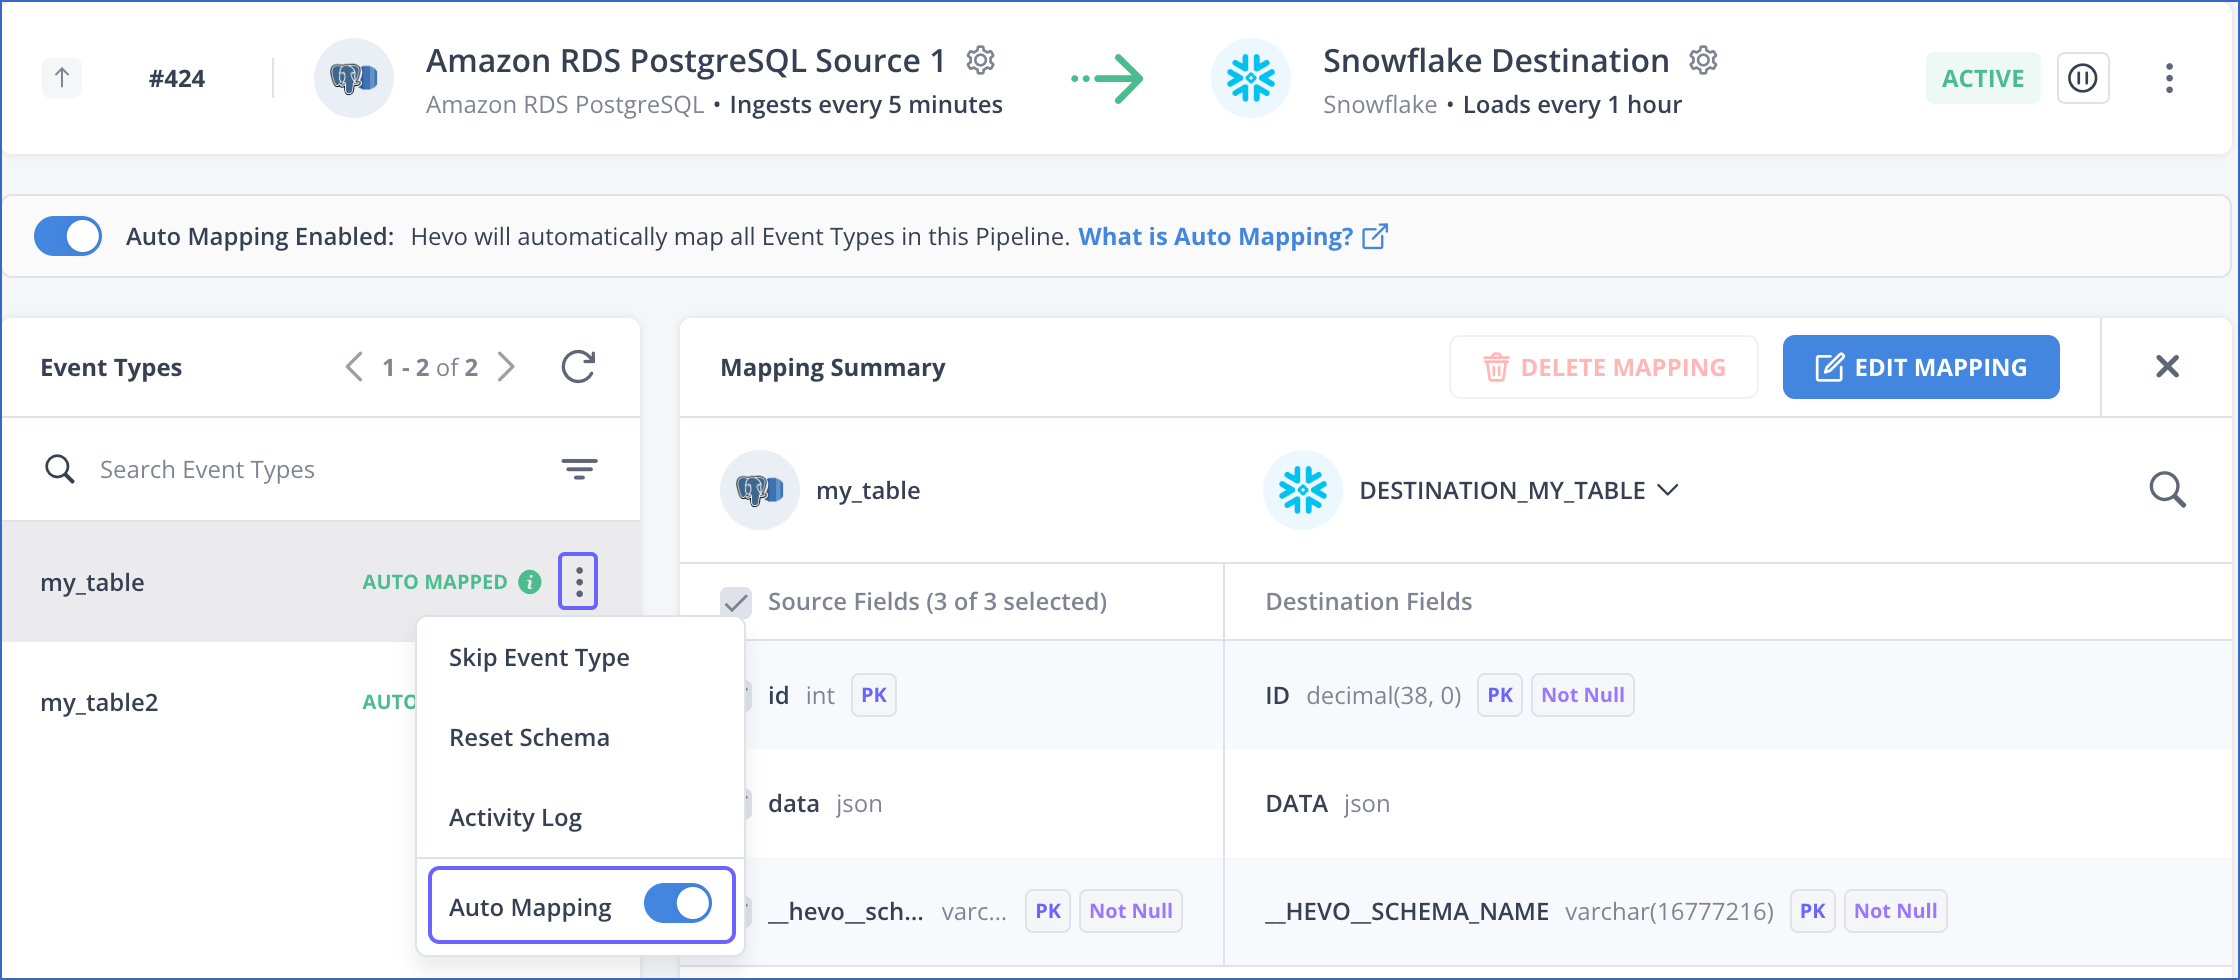
In the Event Types section, click the More (
 ) icon corresponding to the Event Type for which you want to update the data type mapping, and disable Auto Mapping if it is enabled.
-
In the pop up window, click DISABLE AUTO MAPPING.

-
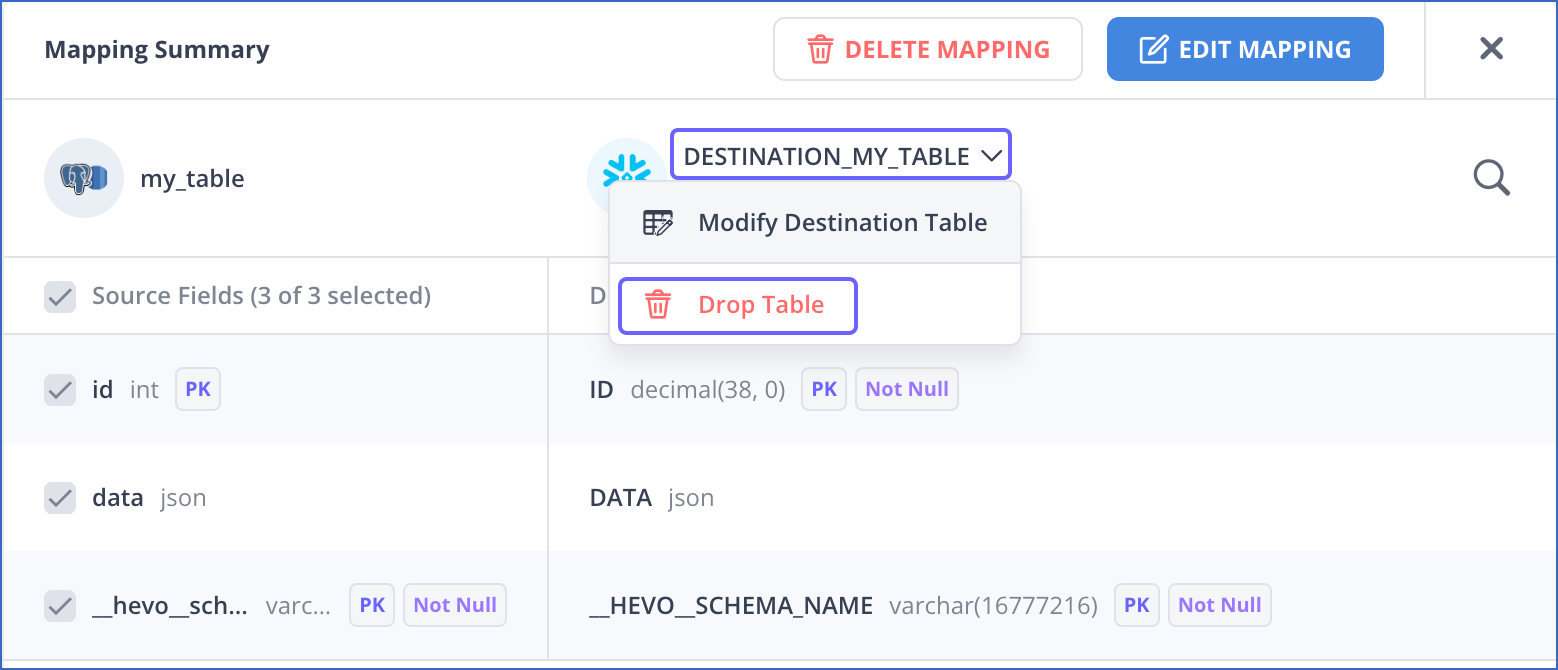
In the Mapping Summary section, click the drop-down next to the Destination table name and click Drop Table.
-
In the pop up window that appears, click YES, I AM SURE to drop the current Destination table and delete the existing mapping.

You have successfully dropped the existing Destination table.
Recreate Table and Map
After dropping the existing Destination table, perform the following steps to recreate the table with the desired data type for the columns:
-
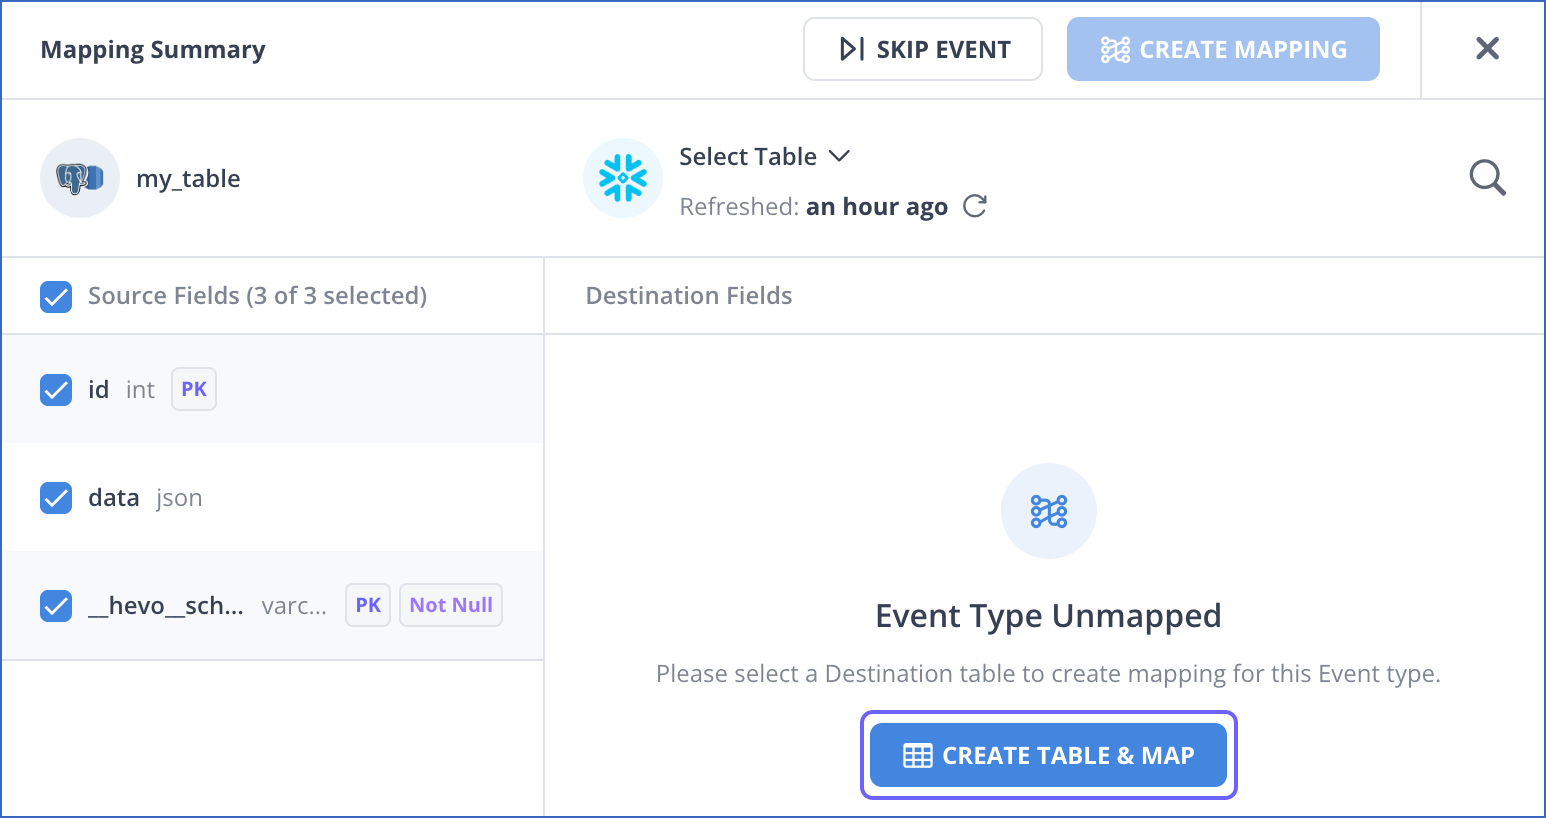
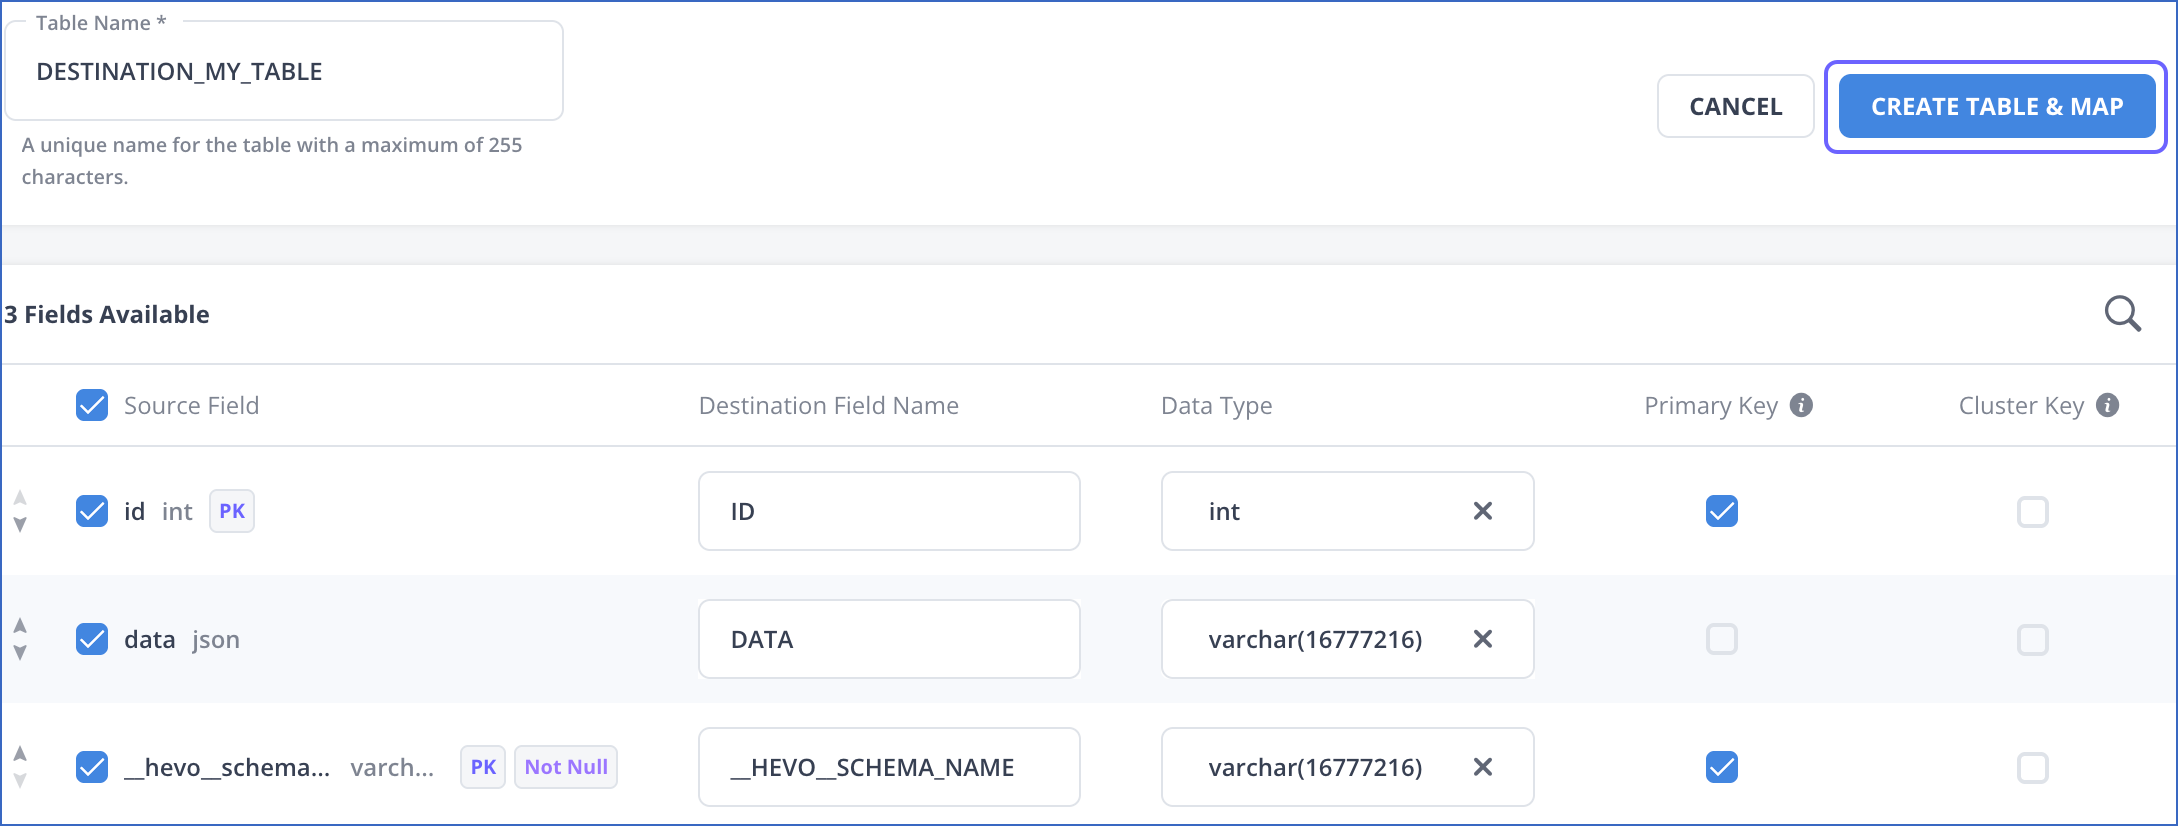
In the Mapping Summary section, click CREATE TABLE & MAP to create a new Destination table.
-
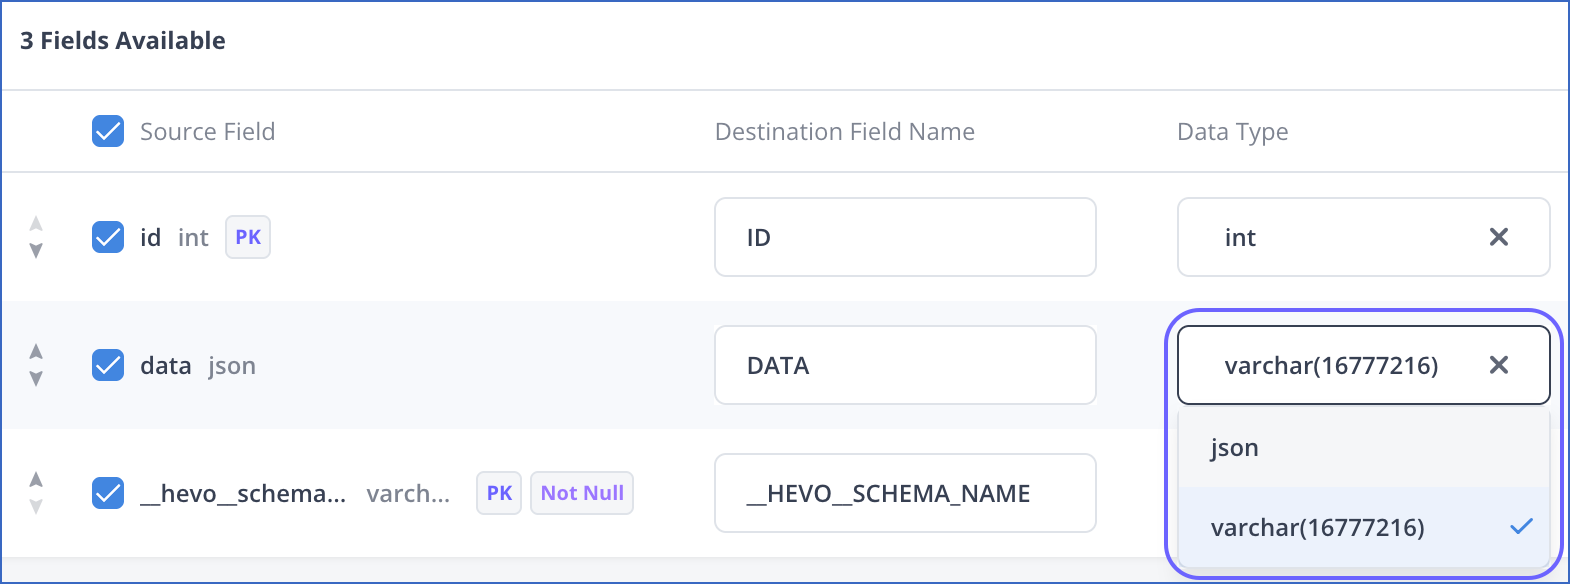
In the Data Type column, choose the desired mapping from the list of compatible data types for the corresponding Source Field from the drop-down. For example, the Source field, data can be mapped to varchar or json in the Destination table.
-
Click CREATE TABLE & MAP.
-
In the Event Types section, click the More (
 ) icon corresponding to the Event Type for which you updated the mapping and enable Auto Mapping.
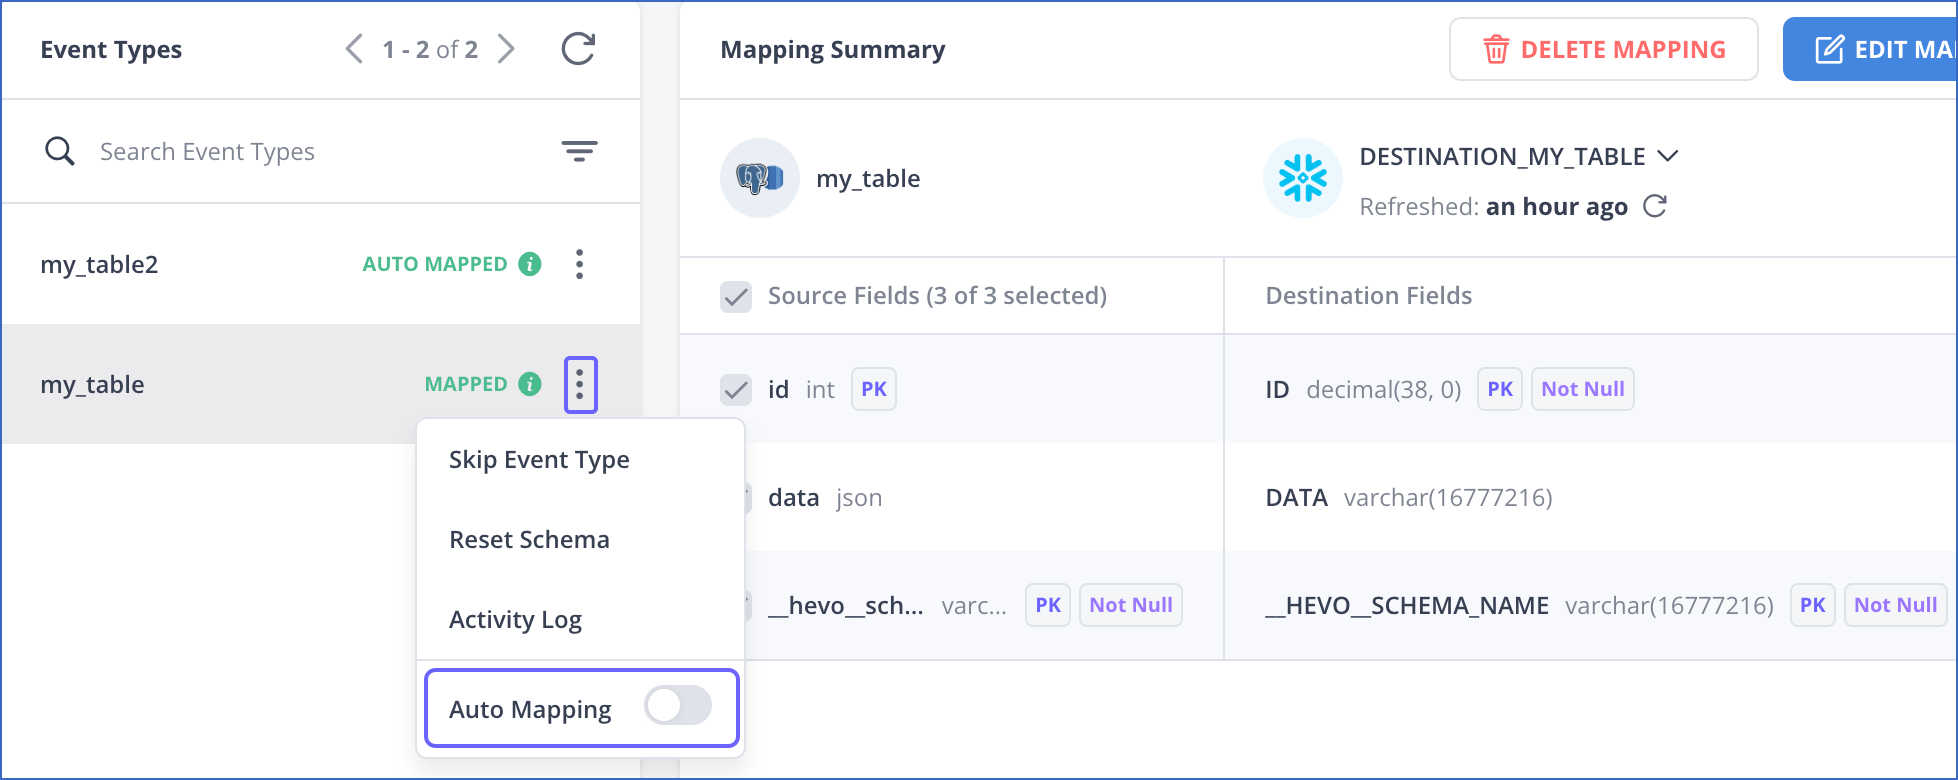
You have successfully recreated your Destination table with the desired data type for the columns.
Restart the Historical Load
To recover any lost data after recreating the Destination table, perform the following steps to restart the historical load for the object:
-
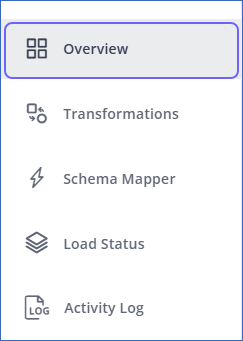
In the Tools Bar, click Overview to access the Pipeline Overview page.
-
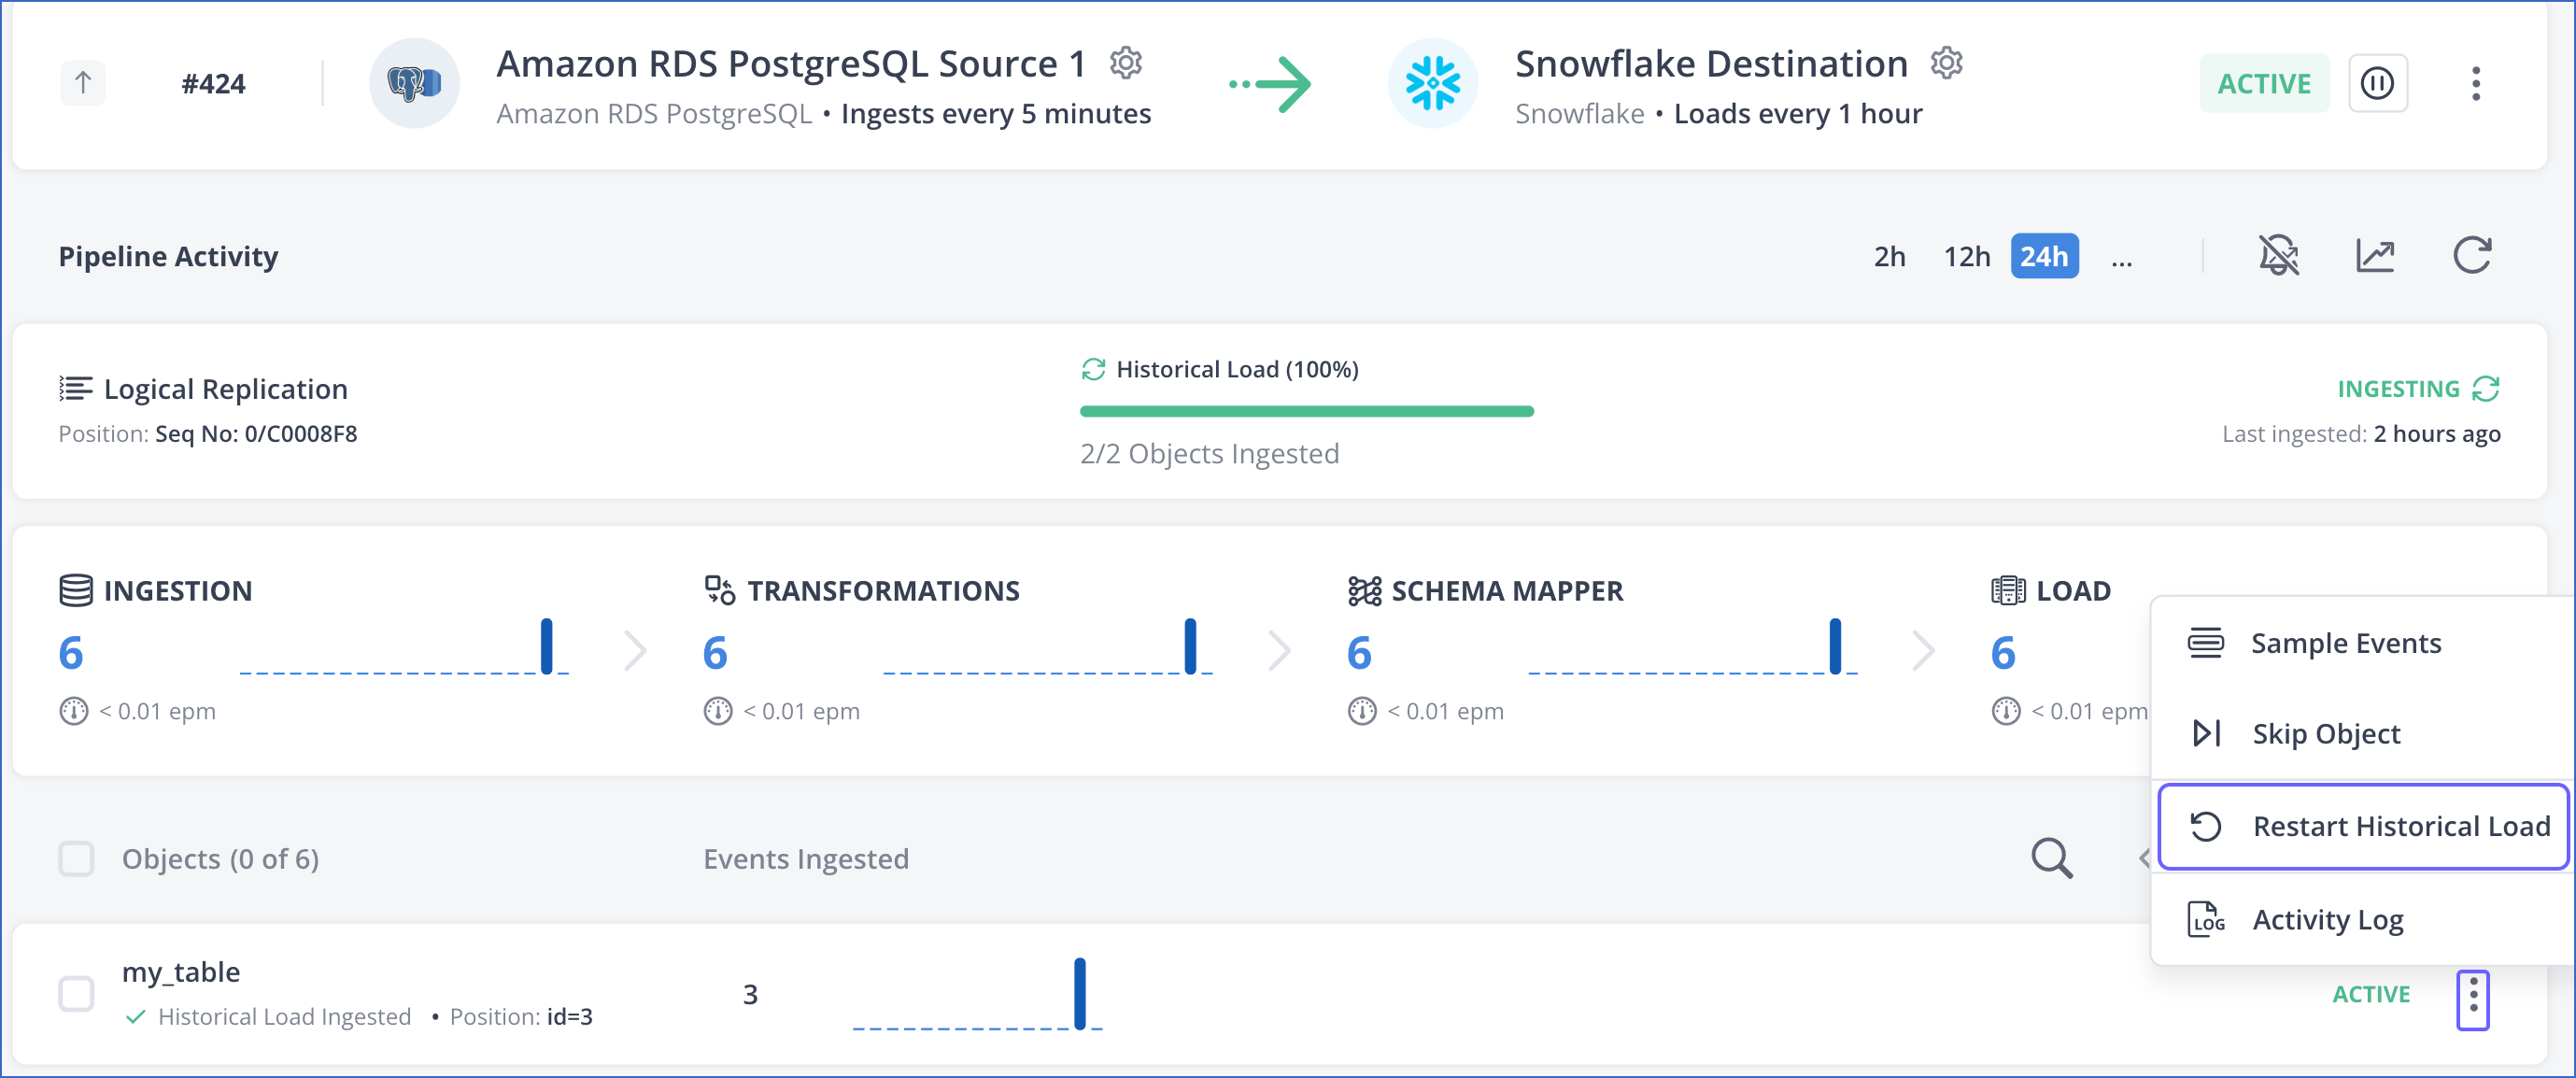
On the Pipeline Overview page, click the More (
 ) icon corresponding to the object for which you updated the data type mapping, and select Restart Historical Load.
-
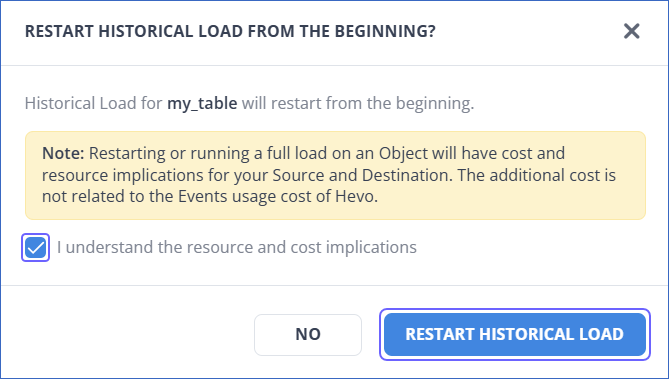
In the pop-up window, select the check box to agree to the cost implications and then click RESTART HISTORICAL LOAD.
You have successfully recovered any lost data for the object.
Creating a New Column in the Destination Table
In this method, you add a new column of the desired data type in the Destination table, and then copy data from the existing column to the new column. To do this:
-
Click PIPELINES in the Navigation Bar and navigate to the Pipeline for which you want to update the data type mapping.
-
Click the PAUSE button next to the Pipeline status.

-
Click Destinations in the Navigation Bar, and then select the Destination for which you want to update the data type mapping.

-
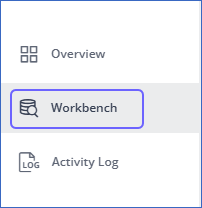
In the left navigation pane, click Workbench.
-
In the SQL QUERY editor, run the following commands to:
Note: Replace the placeholder values in the commands below with your own.
-
Create a new column with the desired data type:
ALTER TABLE <table_name> ADD COLUMN <new_column> <new_data_type>; -
Copy data from the existing column to the new column in the desired format:
UPDATE <table_name> SET <new_column> = CAST(<existing_column> AS <new_data_type>); -
Drop the existing column:
ALTER TABLE <table_name> DROP COLUMN <existing_column>; -
Rename the new column:
ALTER TABLE <table_name> RENAME COLUMN <new_column> TO <existing_column>;
-
-
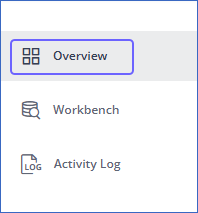
In the left navigation pane, click Overview to navigate to the Destination Overview page.
-
On the Destination Overview page, click the More (
 ) icon next to the Destination status, and then click Refresh Schema.
-
Click PIPELINES in the Navigation Bar and navigate to the Pipeline for which you updated the data type mapping.
-
Click the RESUME button next to the Pipeline status.

You have successfully updated the data type of your Destination column.
Applying Transformations on Events
In this method, you apply Transformations on Events and Event Types and update the data type of the desired column using Drag-and-drop or Python code.
Examples
-
Let us assume that the data type int from the Source is mapped to the Destination data type int, and you want to change the Destination data type to string. You can do this using the Format Number to String transformation.


-
The following Python script converts the data type of
nested_fieldto string using the following commands:def transform(event): properties = event.getProperties() properties['nested_field'] = str(properties['nested_field']) return event
Revision History
Refer to the following table for the list of key updates made to this page:
| Date | Release | Description of Change |
|---|---|---|
| Apr-02-2025 | NA | New document. |