Creating your Account
On This Page
Hevo makes it easy for you to create an account. During the quick sign-up process, you can select one or more Destinations where the data must be replicated by the Pipeline.
If your organization’s domain name is already registered in Hevo, you can create up to five workspaces in each Hevo region. Else, you can create up to five workspaces in total across all Hevo regions. Further, while creating an account, you can also join one of the existing workspaces from your organization.
Each workspace created in Hevo has a 30-day cool-off period. You can create a new workspace only if the 30-day cool-off period for the previous workspace (if any) has elapsed and five workspaces have not been created already.
The following diagram illustrates the steps to create an account in Hevo. These steps are explained in detail further in this document.

To create an account:
-
Navigate to the Hevo website.
-
In the Create Your Free Account page, specify your Full Name, Work Email, Password, and click Start your free trial. Alternatively, you can sign up using your Google account by clicking SIGNUP WITH GOOGLE FOR WORK.
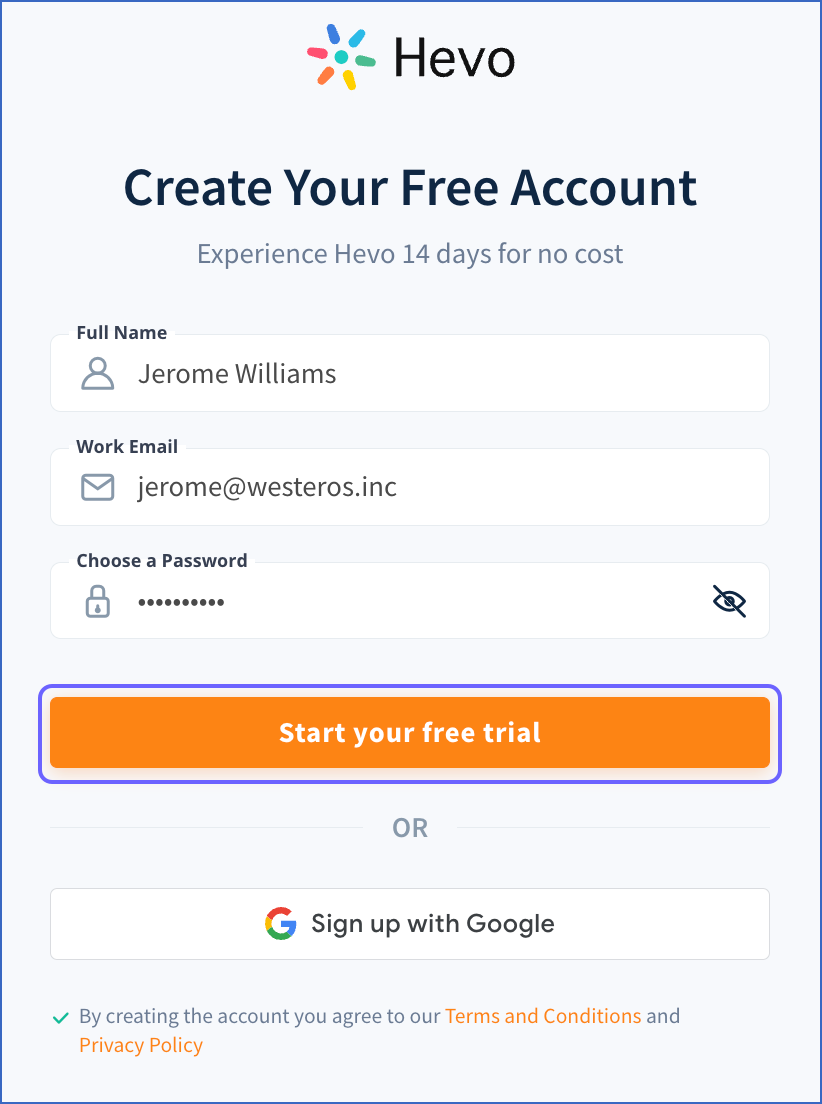
Note: Hevo does not accept any personal email address. You must specify your business email. For example, name@company.com.
-
In the Set up your Profile page, specify the following:

-
Employee Range: The number of employees in your company.
-
Role: Your role in the company.
-
Phone Number: Your personal phone number.
-
-
Click Next.
-
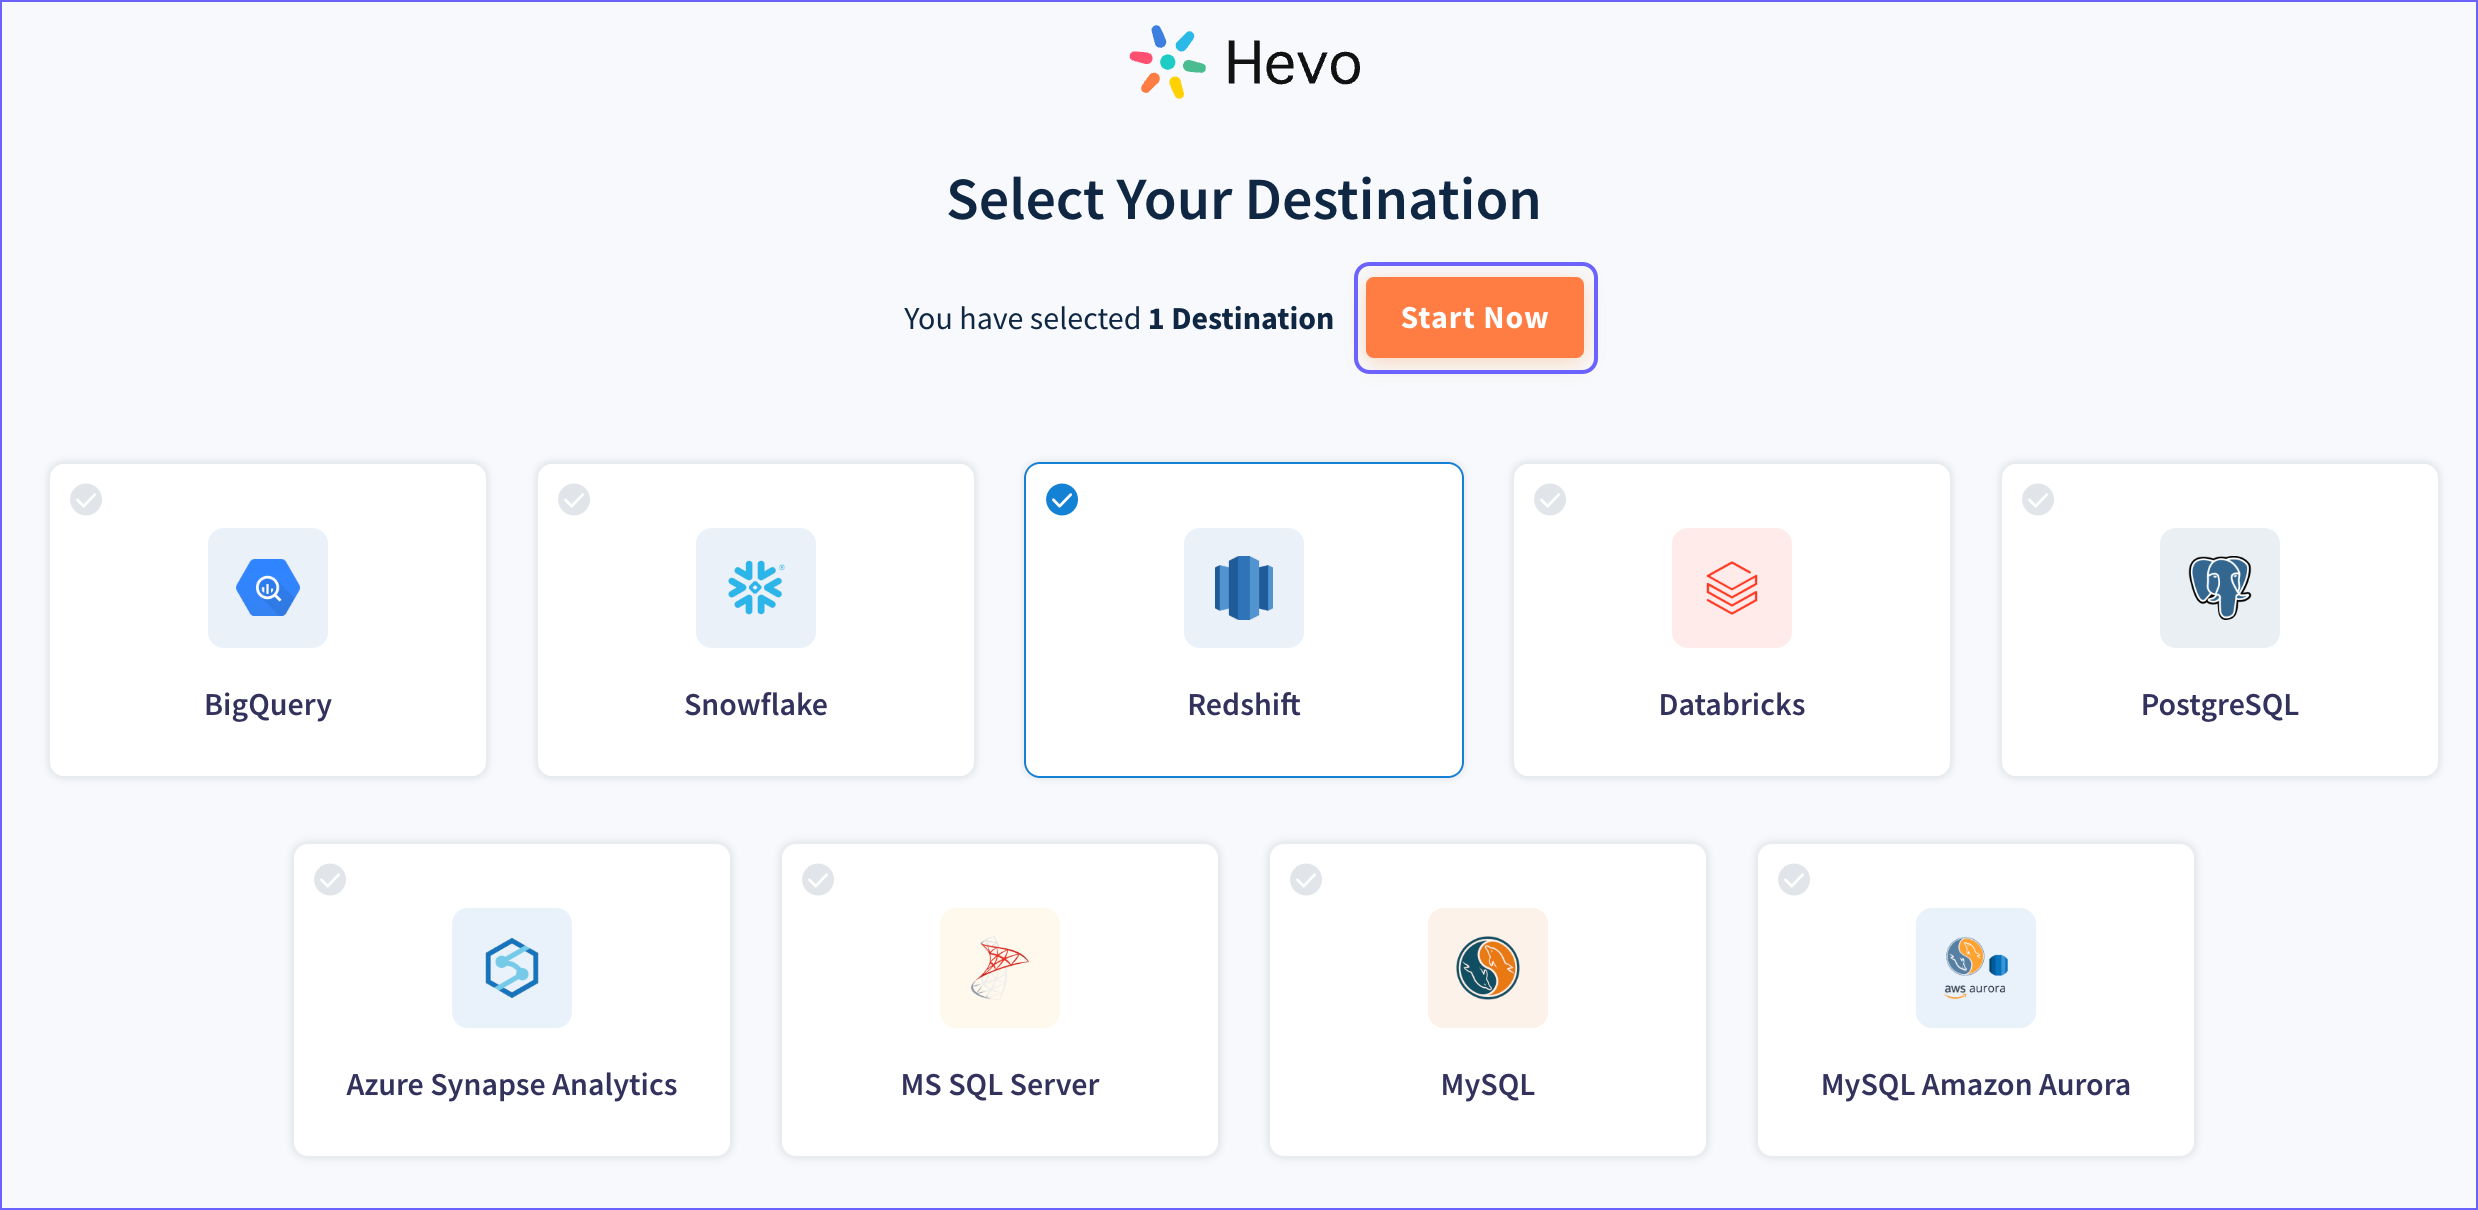
Select one or more Destinations where you want to load the data, and click Start Now.
-
Click the link sent to your registered email address to verify your account.
Note: The Hevo app cannot be used beyond 24 hours of account creation until you verify your email address.
-
Perform the following steps to either join an existing workspace or create a new workspace in Hevo:
-
For joining an existing workspace already created by your organization:
-
Click REQUEST ACCESS corresponding to the workspace you want to join.
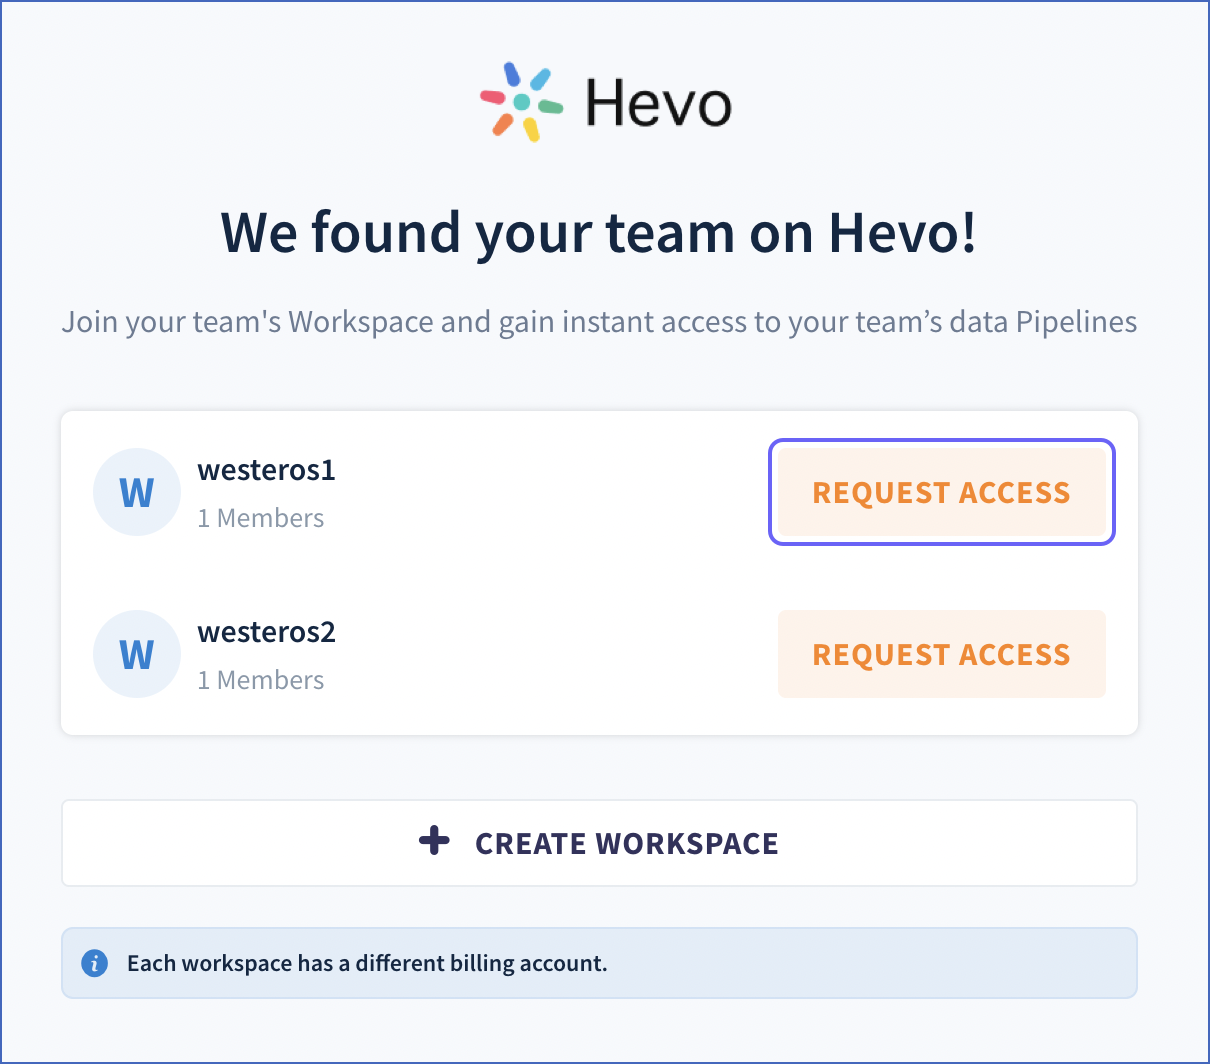
An email is sent to the workspace owner, requesting for access.

Note: If you do not want to proceed with your access request, click REVOKE REQUEST.
Hevo sends you an email as soon as an action is taken by the workspace owner on your request. You can start using Hevo once your request is approved. Else, you can re-request access. Alternatively, you can create a new workspace, if the 30-day cool-off period for the previous workspace has elapsed and five workspaces have not already been created from your organization.
-
-
For creating a new workspace for your organization, if the 30-day cool-off period for the previous workspace (if any) has elapsed and five workspaces have not been created already:
-
Click + CREATE WORKSPACE.

-
In the screen that appears, click START USING HEVO.

Note: Each workspace created in Hevo has to set up its pricing plans, billing, and payment details separately. Also, billing is done separately for each workspace. Read Setting up Pricing Plans, Billing, and Payments for steps to set up these details for your workspace.
-
-
-
Log in to the account you just created and start creating Pipelines. Read Creating your First Pipeline for steps to create Pipelines with SaaS and database Sources.
Next Steps
-
Understand and define the different user roles available in Hevo and the privileges associated with each role.
-
Read Account Management to configure your Hevo account settings, know about the subscription plans, and billing information.
-
Configure your data Source.
-
Configure your Destination.
See Also
Revision History
Refer to the following table for the list of key updates made to this page:
| Date | Release | Description of Change |
|---|---|---|
| Oct-03-2023 | NA | Updated the page as per the latest Hevo UI. |
| Oct-31-2022 | 2.00 | Updated the page to add information about multi-region support which enables users to create up to five workspaces across all regions in Hevo. |
| Oct-17-2022 | 1.99 | Updated the page to add information about cool-off period. |
| Aug-10-2022 | NA | Updated the page to change the content and screenshots as per the UI. |
| Aug-02-2022 | NA | Updated the page to include information about allowing multiple accounts to sign up using the same domain name. |
| Mar-21-2022 | NA | New document. |