PostgreSQL
On This Page
PostgreSQL is a highly stable, open-source object-relational database management system known for its reliability, feature robustness, and performance. It is used as the primary data store or data warehouse for web, mobile, geospatial, and analytics applications.
In Hevo Activate, you can configure PostgreSQL as a Warehouse while creating an Activation, to synchronize the data from it with a Target application.
Prerequisites
-
An active PostgreSQL server instance is available.
-
The PostgreSQL Superuser credentials are available.
-
Hevo’s IP addresses are whitelisted.
-
SELECT and USAGE schema privileges are granted to the database user.
-
The bookkeeping schema,
hevois created, or the database user has permissions to create it.
Whitelist Hevo’s IP addresses
You need to whitelist the Hevo IP addresses for your region to enable Hevo to connect to your PostgreSQL Warehouse.
To do this:
-
Navigate to the PostgreSQL configuration file directory. This directory is usually at the path, /etc/postgresql/<version>/main/.
-
Edit the configuration file,
pg_hba.conf, and add the Hevo IP addresses for your region or0.0.0.0/0to allow all IPs to connect to your instance:# TYPE DATABASE USER ADDRESS METHOD host all <user_name> 0.0.0.0/0 md5Note:
sudoaccess is needed to edit the file.
The steps mentioned above are for a generic PostgreSQL server. You can refer to the PostgreSQL Source documentation pages for the steps to whitelist the IP addresses of your region for your PostgreSQL variant.
Create a User and Grant Privileges
Note: The comments (starting with --) in the following sections explain the commands and are for your understanding only. You do not need to enter these.
1. Create a user
-
Log in to your PostgreSQL server as a Superuser using an SQL client, such as
psql. -
Enter the following command:
CREATE USER <user_name> WITH PASSWORD '<strong password>';Note: Replace the placeholder values in the command given above with your own.
2. Grant privileges to the user
-
Log in to your PostgreSQL server as a Superuser using an SQL client, such as
psql. -
Run the following commands to grant the required privileges:
-- Allow the database user access to your schema. This is the schema in which your data exists. GRANT USAGE ON SCHEMA "<your schema>" TO <user_name>; -- Allow the database user to read all the existing tables in your schema. Alternatively, you can choose to provide access only to specific tables. GRANT SELECT ON ALL TABLES IN SCHEMA "<your schema>" TO <user_name>; -- Allow the database user to read any new tables in your schema. You may skip this step if you do not want Activate to use the new tables. ALTER DEFAULT PRIVILEGES IN SCHEMA "<your schema>" GRANT SELECT ON TABLES TO <user_name>; -- Allow the database user to create the bookkeeping schema in your database. Alternatively, you can create this in the next step. GRANT CREATE ON DATABASE <database_name> TO <user_name>;Note: Replace the placeholder values in the commands given above with your own.
3. Create the bookkeeping schema and grant privileges
Hevo maintains a bookkeeping schema, hevo, for all the Activations in the configured database. The bookkeeping schema is created only once, during the configuration of the selected database. If it does not exist, your Activations will not run. Hevo can create this schema for you if you have given the create permission to the database user, in the grant privileges to the user step. Else, you can create it on your own. Only the database user that creates this schema has OWNERSHIP privileges on it. For all other database users who need to create and run Activations, you must assign permissions to the bookkeeping schema.
Perform the following steps to create the bookkeeping schema and grant privileges to it:
-
Log in to your PostgreSQL server as a Superuser using an SQL client, such as
psql. -
Run the following command to create the schema, if it does not exist:
-- Create the bookkeeping schema, hevo. CREATE SCHEMA IF NOT EXISTS hevo; -
Run the following commands to grant privileges on the
hevoschema to the database user:-- Allow the database user full access to the bookkeeping schema, hevo. GRANT ALL ON SCHEMA hevo TO <user_name>; -- Allow the database user access to the already existing objects in the bookkeeping schema GRANT ALL PRIVILEGES ON ALL TABLES IN SCHEMA hevo TO <user_name>;Note: Replace the placeholder values in the commands given above with your own.
Configure PostgreSQL as a Warehouse
Perform the following steps to configure PostgreSQL as an Activate Warehouse:
-
Do one of the following:
-
Click ACTIVATE in the Navigation Bar, and:
-
In the Activations tab, click + CREATE ACTIVATION.

-
On the Select Warehouse page, click + Add Warehouse.
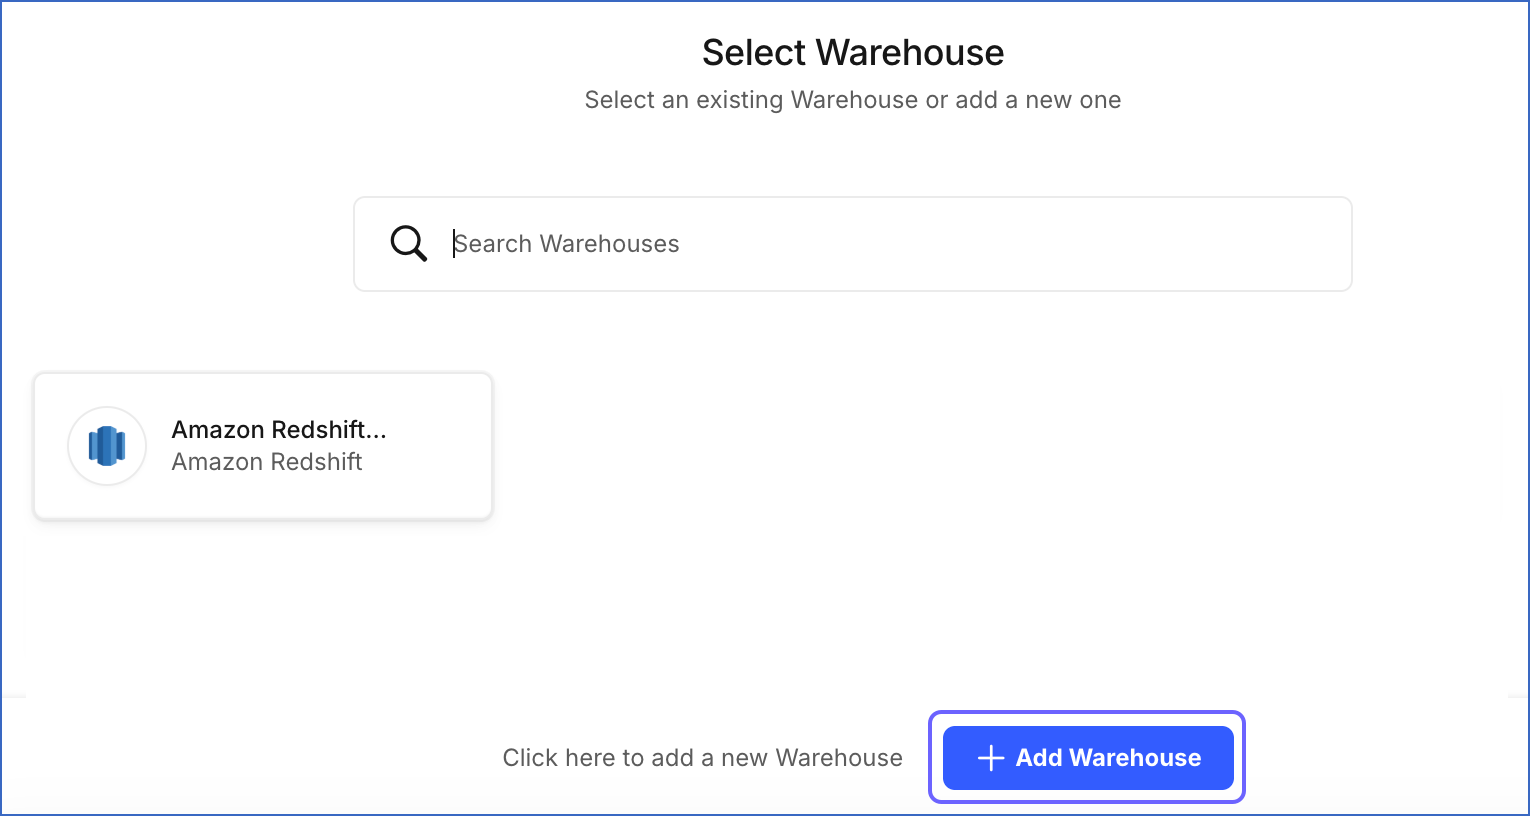
-
On the Select Warehouse Type page, select PostgreSQL.
-
-
Click DESTINATIONS in the Navigation Bar, and:
-
Click + CREATE DESTINATION in the Destinations List View.
-
On the Add Destination page, select PostgreSQL as the Destination type.
-
-
-
On the Configure your PostgreSQL Warehouse page, specify the following:

-
Warehouse Name: A unique name for your Warehouse.
-
Database Host: The PostgreSQL server’s IP address or DNS.
-
Database Port: The port on which your PostgreSQL server listens for connections. Default value: 5432.
-
Database User: The database user that you created. A user with a non-administrative role in the PostgreSQL database.
-
Database Password: The password of the database user.
-
Database Name: The name of the database from which data is to be synchronized.
-
Database Schema: The name of the schema on which the database user has SELECT and USAGE privileges. Default value: public.
-
Additional Settings:
-
Connect through SSH: Enable this option to connect to Hevo using an SSH tunnel, instead of directly connecting your PostgreSQL server to Hevo. This provides an additional level of security to your database by not exposing your PostgreSQL setup to the public. Read Connecting Through SSH.
If this option is disabled, you must whitelist Hevo’s IP addresses.
-
Use SSL: Enable this option to use an SSL-encrypted connection. Specify the following:
-
CA File: The file containing the SSL server certificate authority (CA).
-
Client Certificate: The SSL client public key certificate file.
-
Client Key: The SSL client private key file.
For the steps to create the required files and keys, read PostgreSQL.
-
-
Sanitize Table/Column Names?: Enable this option to remove all non-alphanumeric characters and spaces in a table or column name, and replace them with an underscore (_). Read Name Sanitization.
Note: This option is applicable when you configure an existing Destination as your Activate Warehouse.
-
-
-
Click TEST CONNECTION to test connectivity with the PostgreSQL Warehouse.
-
Once the test is successful, click SAVE & CONTINUE.
Revision History
Refer to the following table for the list of key updates made to this page:
| Date | Release | Description of Change |
|---|---|---|
| Aug-26-2024 | NA | Updated section Configure PostgreSQL as a Warehouse to reflect the latest UI. |
| Jun-09-2022 | 1.90 | New document. |