Creating a Dataset (Edge)
On This Page
Creating a dataset involves selecting the Source that contains your data, naming the dataset and choosing its type, and then defining the data it returns. You can define the data using an SQL query or by selecting a table. Before saving the dataset, you can preview the records it returns to confirm that it contains the expected rows and columns.
The Source and the dataset type cannot be changed after you save the dataset. If either needs to change, you must create a new dataset. You can update the SQL query or the selected table later.
The following sections describe how to create a dataset:
-
Select the Source: Choose the Source that the dataset reads from.
-
Select the Dataset Type: Name the dataset and choose whether it is defined by an SQL query or by a table.
-
Configure the Dataset: Define the data that the dataset returns, and preview it before you save.
Prerequisites
- A Source with the Active status is available. If you do not have one, refer to the documentation for your respective Source type to create one.
Select the Source
A Source determines the data available to a dataset. Perform the following steps to select the Source you want the dataset to read from:
-
In the Navigation Bar, click Activate.
-
On the Activate page, click the Datasets tab, and then click + Create Dataset.

-
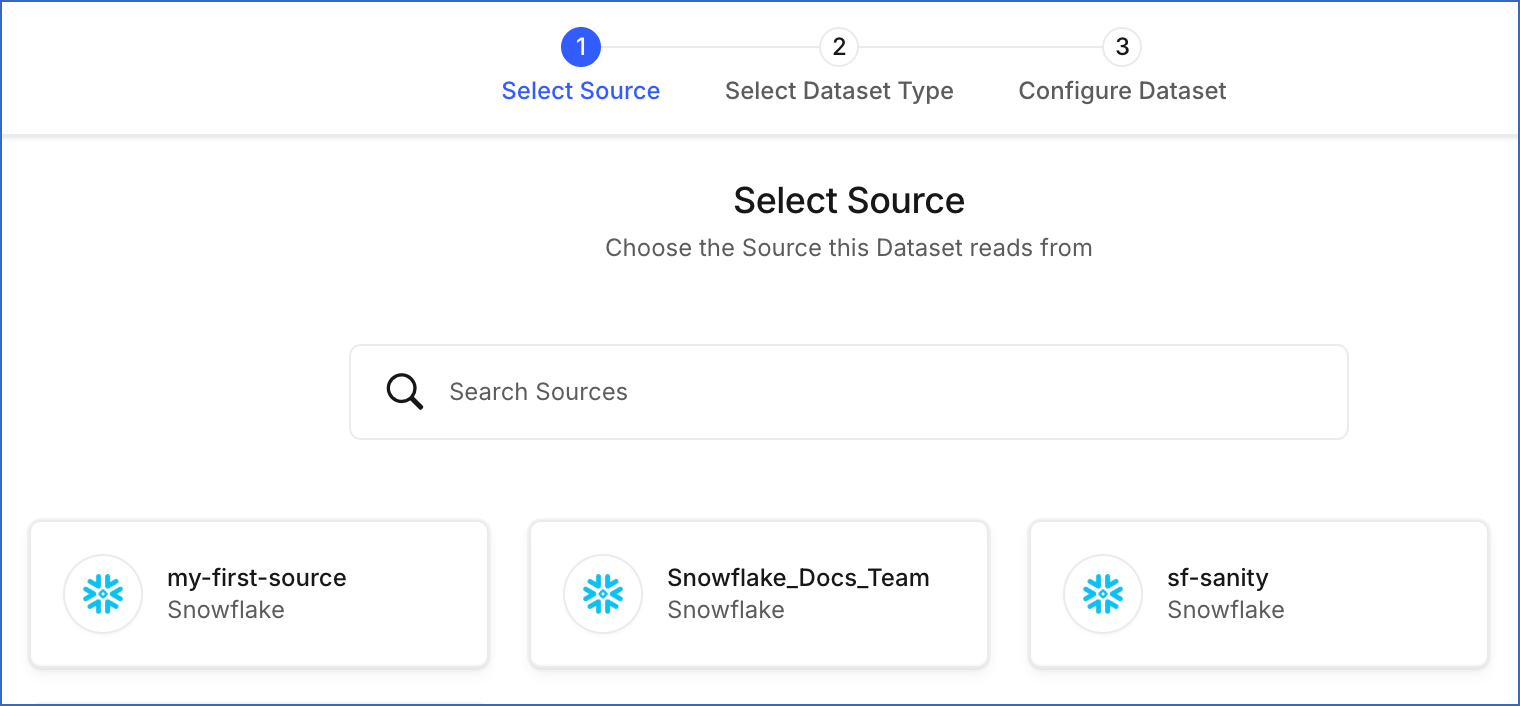
On the Select Source page, click the Source that contains the data you want to send to your Target application. Use the Search Sources field to find a Source by its name.
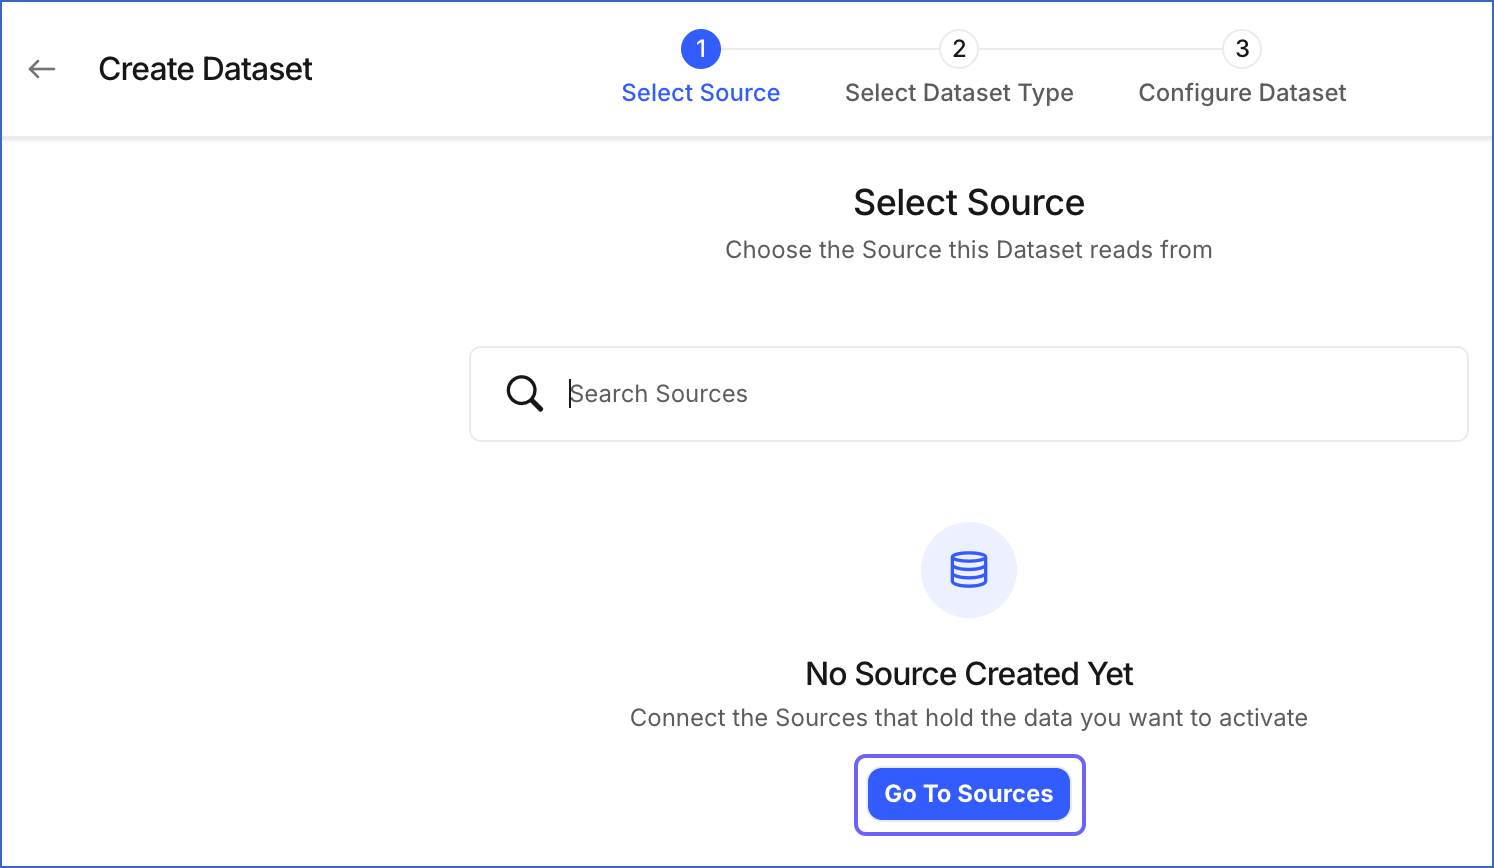
If you have not created a Source yet, the No Source Created Yet message is displayed. Click Go To Sources to open the Sources tab. Refer to the documentation for your respective Source type for the steps to create a Source. Once the Source is created, you can create a dataset with it.
After you select a Source, proceed to select the type of dataset you want to create.
Select the Dataset Type
Perform the following steps to name your dataset and choose how it is defined:
-
On the Select Dataset Type page, specify the following:

-
Dataset Name: A unique name for your dataset. Choose a name that clearly describes the data it contains, such as Active Trial Customers.
-
In the Dataset Type section, select one of the following:
-
SQL Query (Recommended): Write an SQL query to sync only the rows and columns you need, or to combine data from multiple tables.
-
Table: Select a table and sync its records without writing any SQL.
Read Dataset Types for a comparison of the two types.
-
-
-
Click Continue.
After you select the dataset type, proceed to define the data that the dataset returns.
Configure the Dataset
The fields displayed on the Configure Dataset page depend on the dataset type you selected:
-
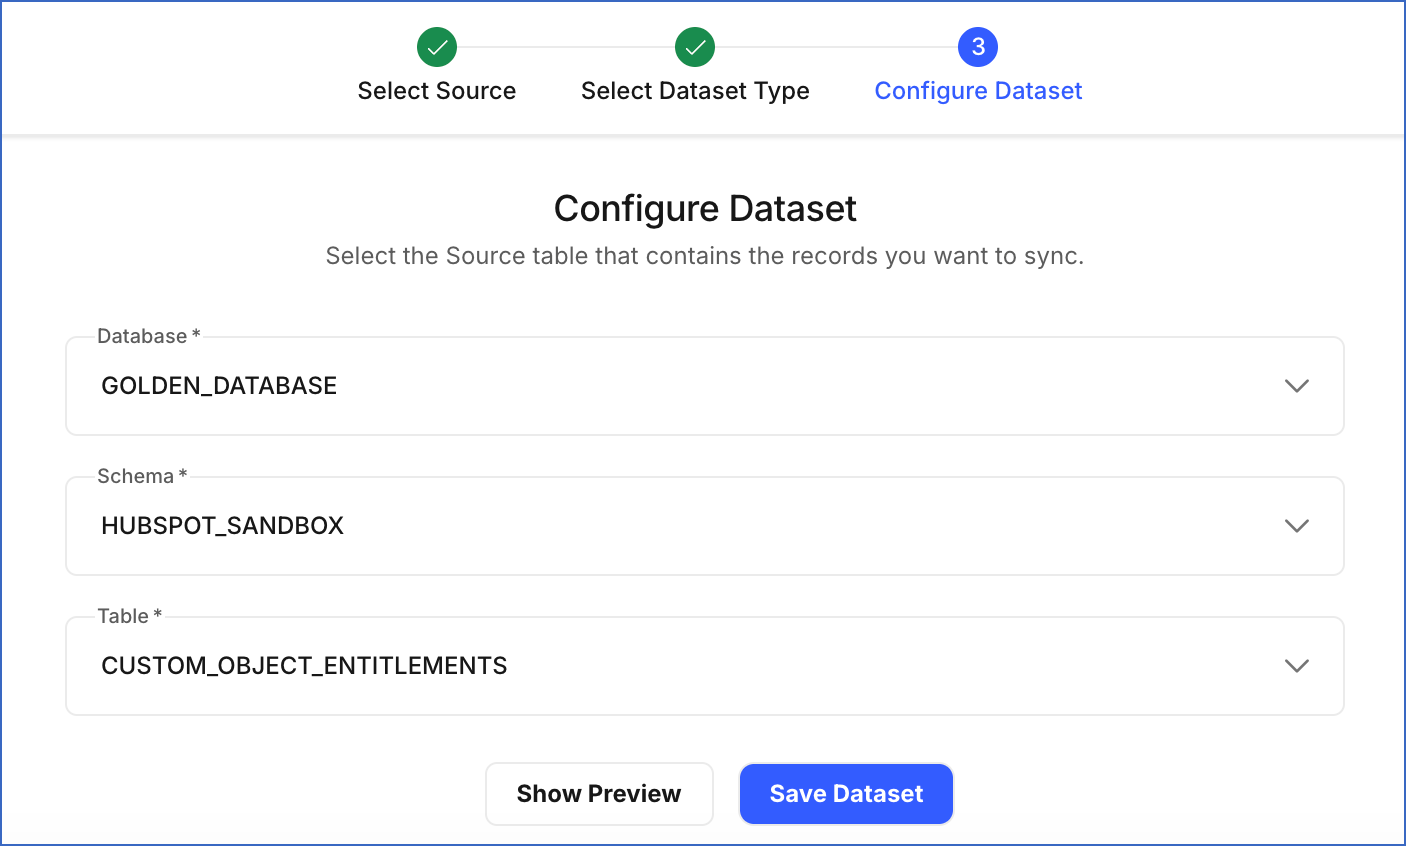
For a Table dataset, select the database, schema, and table that contains the data you want to send.
-
For an SQL Query dataset, write the query that returns the data you want to send.
You can preview the records returned by either dataset type before saving it.
Configuring a Table Dataset
Perform the following steps to define a dataset from a single table:
-
On the Configure Dataset page, specify the following:
-
Database: The database that contains the table you want to send. The drop-down lists the databases the user configured in your Source can access.
-
Schema: The schema within the selected database. This drop-down is populated after you select a database.
-
Table: The table to send. This drop-down is populated after you select a schema.
Note: All three fields are required, and each one is populated based on the field above it. If a database, schema, or table you expect is missing, the user configured in your Source most likely does not have permission to access it. Refer to the documentation for your respective Source type to review the required permissions.
-
-
Click Show Preview to confirm that the table returns the records you expect. The preview must run successfully before you can save the dataset. Read Previewing a Dataset for more information.
-
Click Save Dataset.
A notification is displayed to confirm that the dataset has been created successfully. The newly created dataset is displayed in the Datasets List View.
Configuring an SQL Query Dataset
Use an SQL Query dataset when you need to filter, reshape, or combine data before sending it to your Target application. Perform the following steps to define a dataset from a query:
-
On the Configure Dataset page, in the SQL Query editor, write the query that returns the rows and columns you want to send to your Target application.
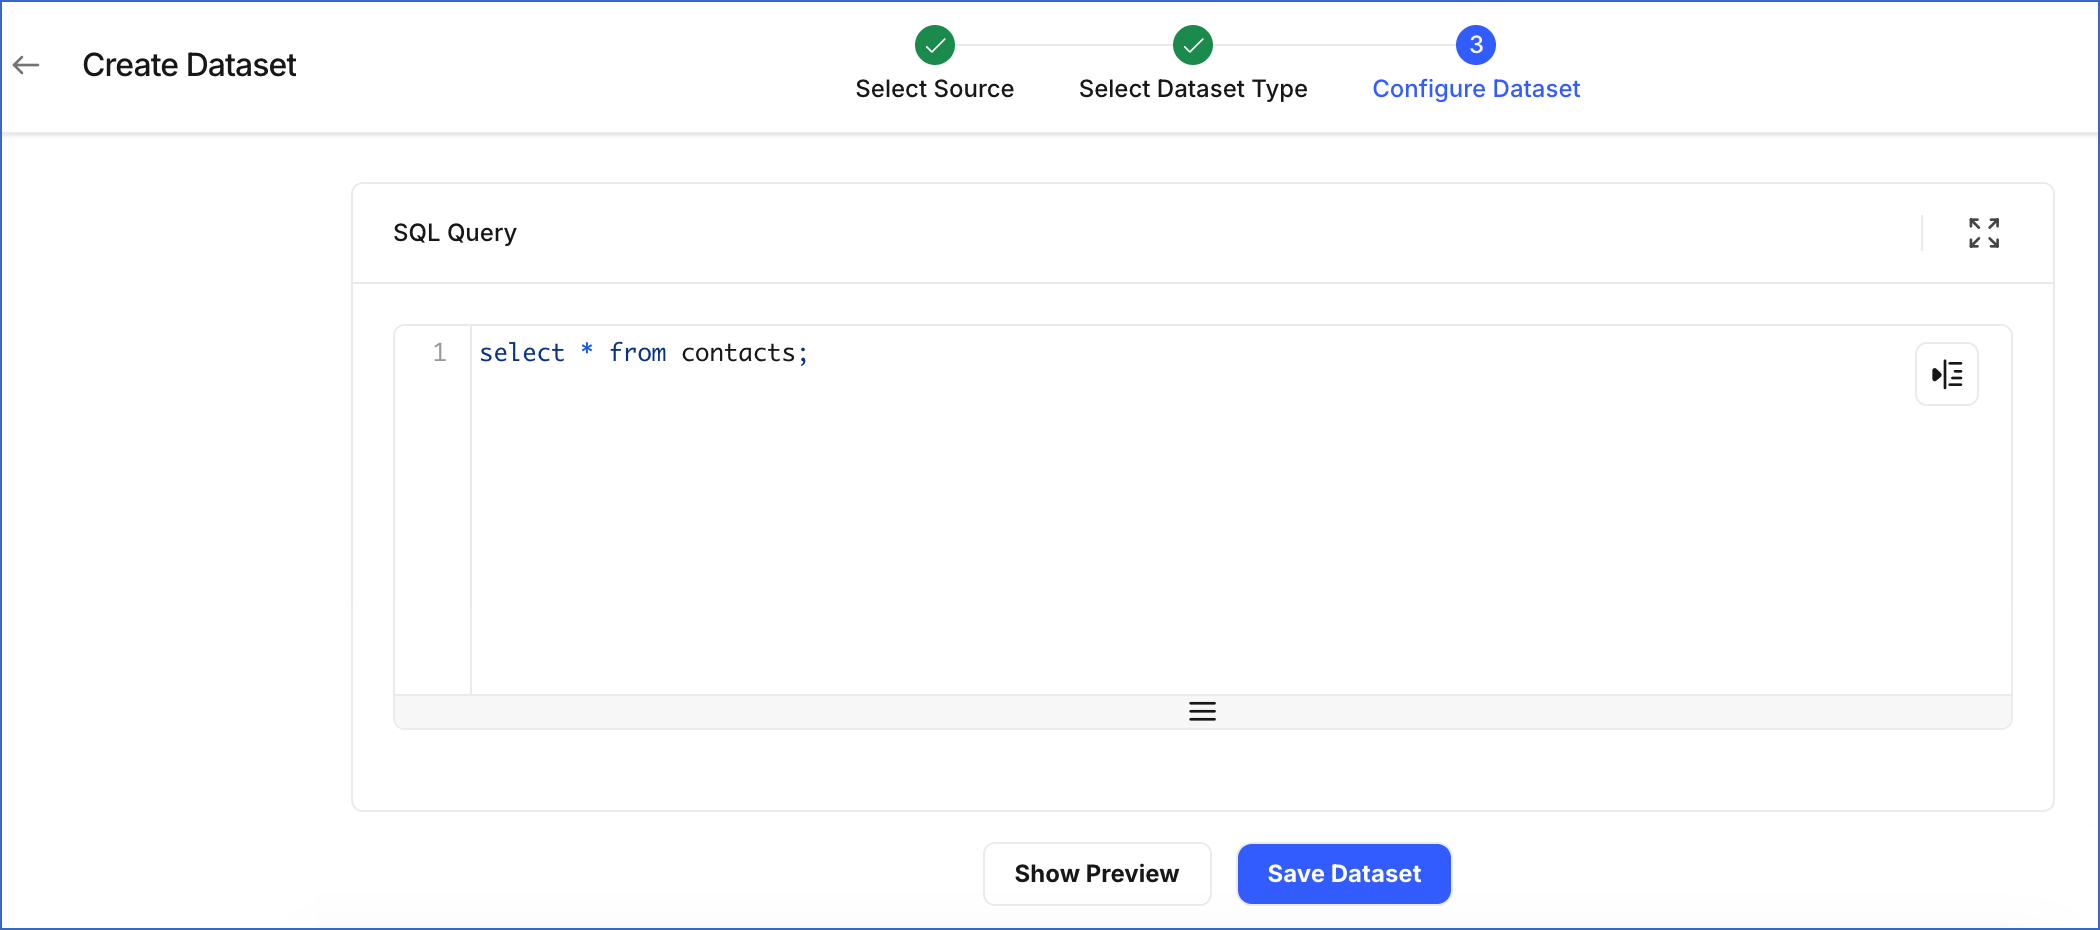
You must consider the following while writing the SQL query:
-
Select only the columns you intend to map. Fewer columns make the field mapping step easier to work through.
-
Use column aliases to give a column the same name as the field it maps to in your application. For example,
SELECT email_address AS emailmakes the mapping obvious. -
Write table names to match the database and schema that your Source specifies. If the Source specifies a database but no schema, use the <SCHEMA_NAME>.<TABLE_NAME> form. If it specifies neither, use the fully qualified <DATABASE_NAME>.<SCHEMA_NAME>.<TABLE_NAME> form. Read Source Database and Schema for more information.
-
Write the query as a single
SELECTstatement. Multiple statements, or any statement that creates or modifies data, cause the query to fail. -
Include a column that uniquely identifies each row, such as an email address or a customer ID. You need it as the sync key when you create an Activation. Read Map Fields for more information.
-
-
Click Show Preview to see the records the query returns. The preview must run successfully before you can save the dataset. Read Previewing a Dataset for more information.
-
Click Save Dataset.
A notification is displayed to confirm that the dataset has been created successfully. The newly created dataset is displayed in the Datasets List View.
Previewing a Dataset
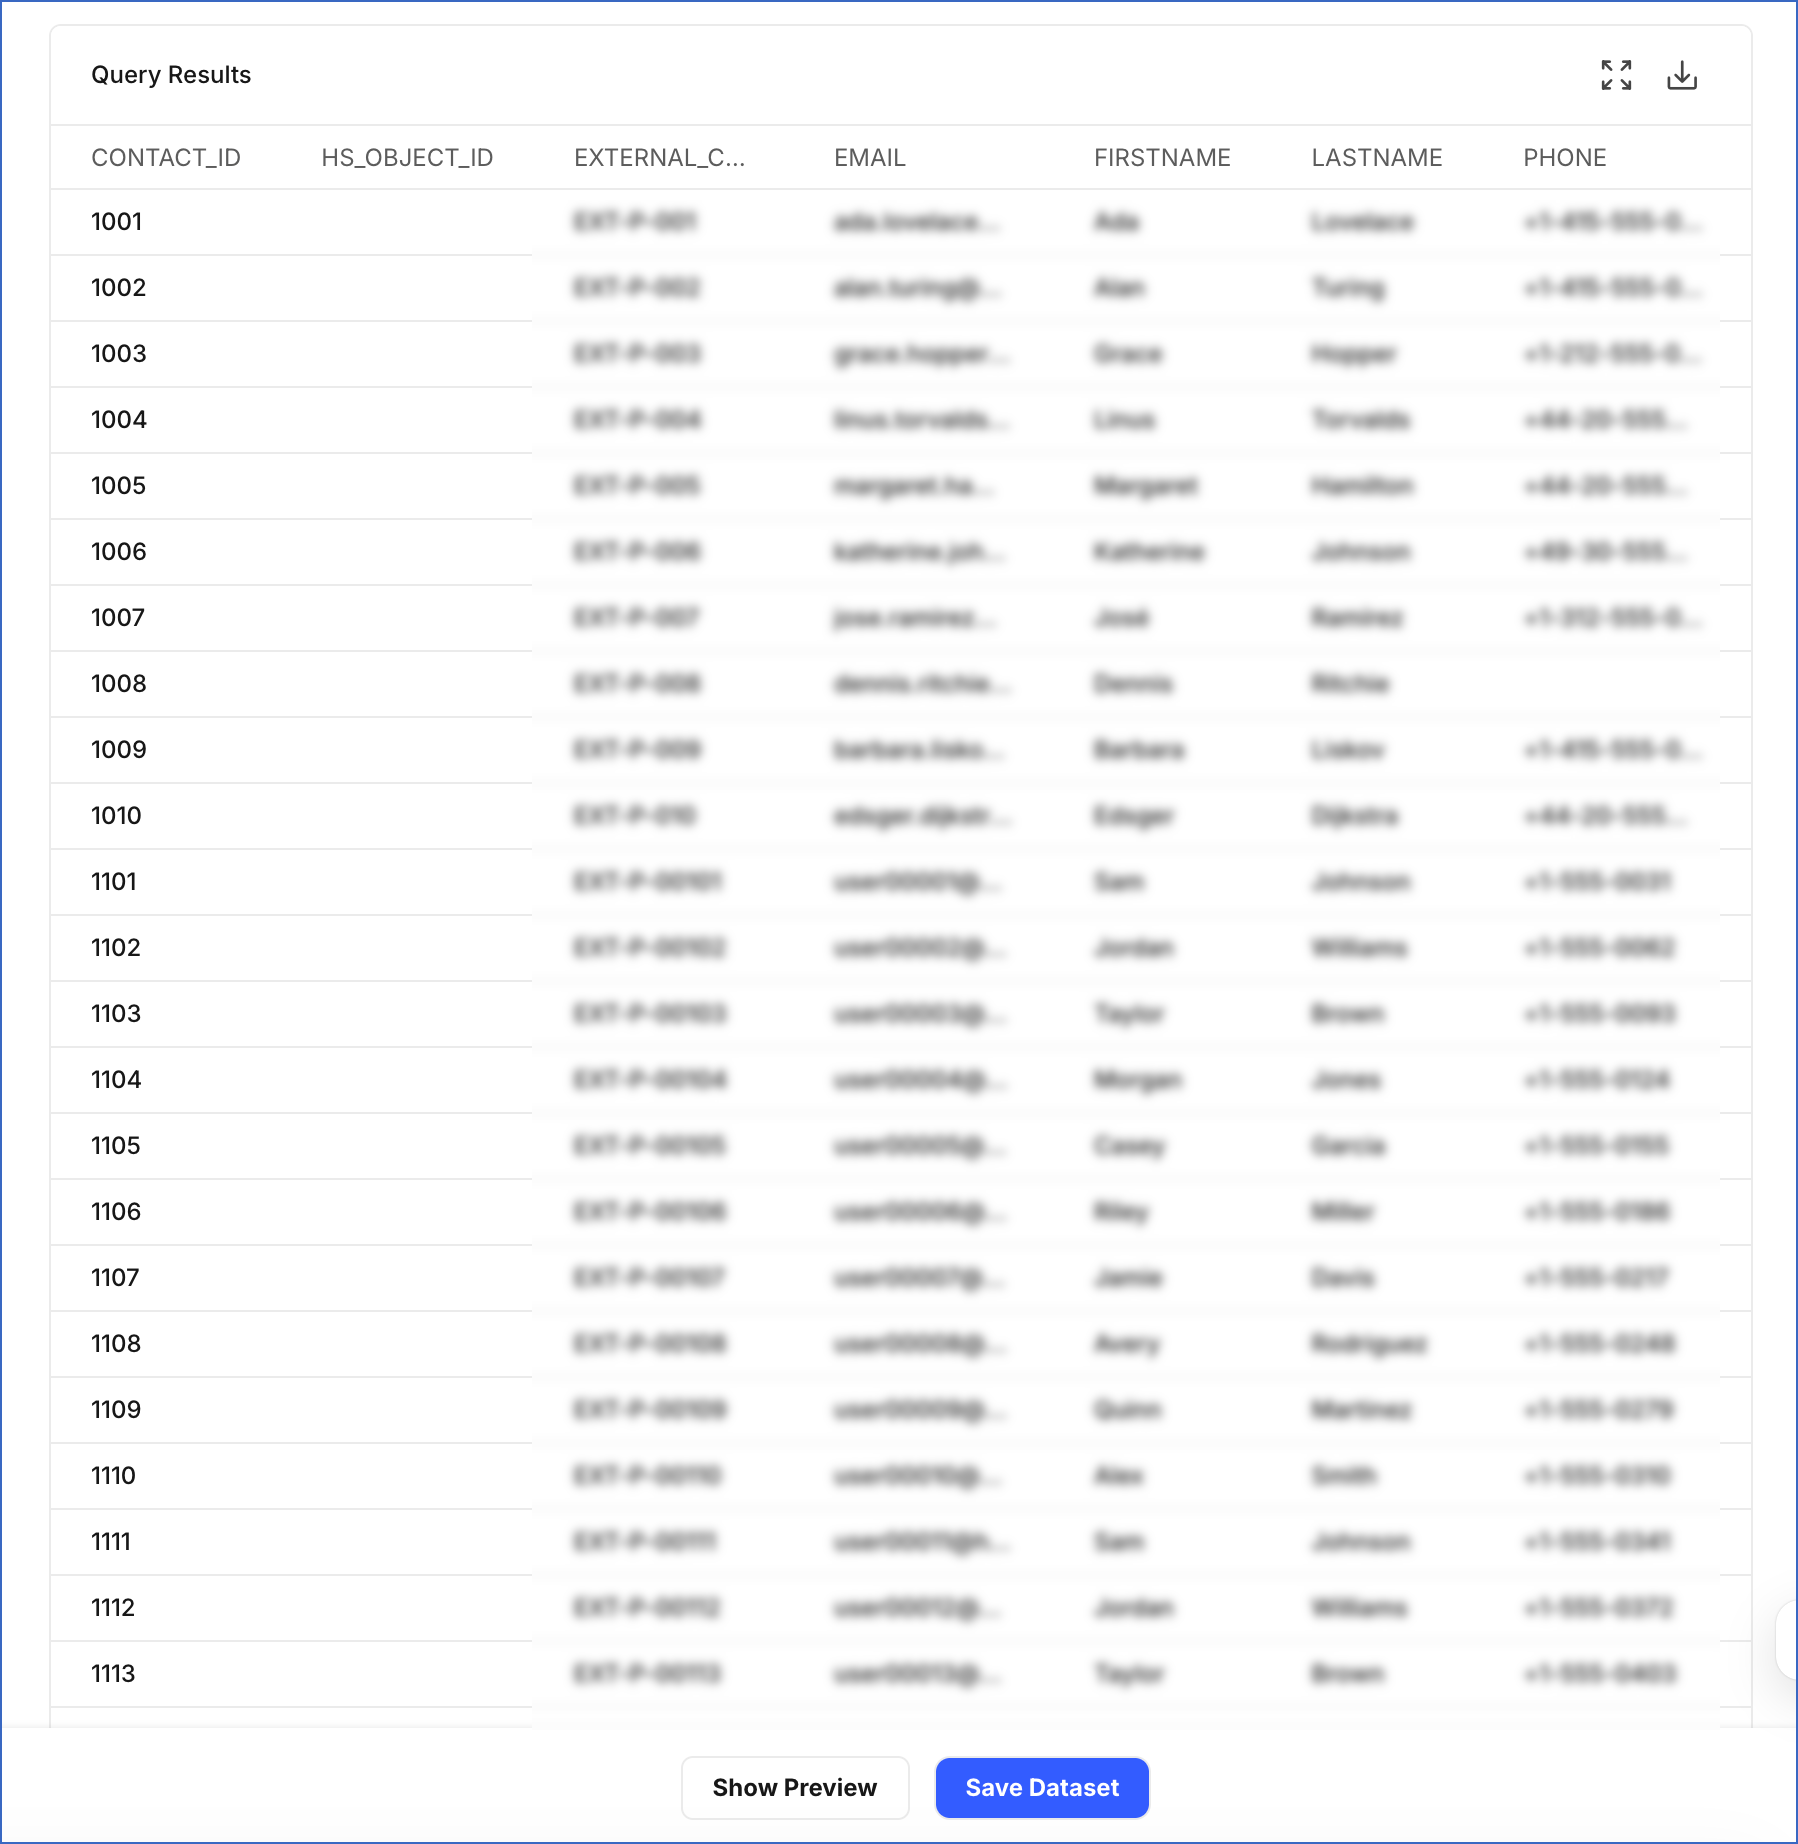
The preview lets you verify the records returned by your dataset before you save it. When you click Show Preview on the Configure Dataset page, the records are displayed in the Query Results section.
-
The Query Results section displays the first rows of the query output, not the entire result. Click the Expand Table icon to view the records in a larger table, and the Download icon to save them as a file.
-
The records shown are real rows read from your Source at the moment you click Show Preview. They are not sample or generated data.
-
The preview reflects the query as currently written in the editor, not the last saved version. Click Save Dataset to keep the definition you previewed.
You can also preview a saved dataset at any time from the Preview tab of the Datasets Detailed View.
Revision History
Refer to the following table for the list of key updates made to this page:
| Date | Release | Description of Change |
|---|---|---|
| Sep-22-2026 | NA | New document. |